 Enter the entrance at the back
(must have solved Puzzle 093)
 Pick up three hint coins
 Walk up
 Pick up three hint coins
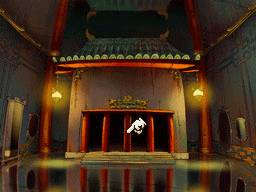
 Check out the spiked ball
094 The Dragon Bridge (US) / The Dragon Walkway (UK)


Hint 1

Hint 2

Hint 3

Super Hint

Solution

 See the Step by Step Solution
Step by Step Solution
 Slide the sideways-T piece to the right
 Slide the S-shaped piece down
 Slide the L-shaped piece down and left
 Slide the spiked ball down, right, down and right
 Slide the L-shaped piece right, up and right
 Slide the sideways-T piece up, left, up one space and left
 Slide the upside-down L piece left and down
 Slide the spiked ball left and down
 Slide the L-shaped piece down, right and down
 Slide the spiked ball up one space and right
 Slide the sideways-T piece right and up
 Slide the S-shaped piece up, right one space and up
 Slide the upside-down L piece up and left
 Slide the L-shaped piece left and down
 Slide the spiked ball down
 Slide the S-shaped piece down, right and down
 Slide the sideways-T piece down and right
 Slide the upside-down L piece up, right, up, right and up
 Slide the sideways-T piece left
Progress
3180 Picarats and 242 Hint Coins
093 The Mirror Maze
This free video game walkthrough is for the Nintendo DS
Professor Layton and the Unwound Future Walkthrough
Professor Layton and the Lost Future Walkthrough
Professor Layton and the Unwound Future Walkthrough
Professor Layton and the Lost Future Walkthrough